Starting a food supply may seem simple enough when you think about building a supply of store-bought canned goods for a few weeks of sustenance. But once you start thinking about longer-term sustenance for emergency preparedness for yourself and your loved ones, it can get a bit overwhelming. After all, cans and boxed foods from the grocery store will only go so far, and your supply space will quickly get overwhelmed with packaging if you don’t start thinking about long-term food preservation.
Preserving food in the most shelf-stable way can make a huge difference in the cost-effectiveness and longevity of your supply. To help get you started, we’ve created our free Shelf Life Reference guide on our site, which can help you determine how to store some of the basic foods in a food inventory. And with our Ultimate Prep System, you can easily stay on top of how many weeks, months, or years of food storage are in your supply, and how to efficiently rotate through foods based on any date that you set (for example, best by date).
The basics of preserving food are actually quite simple and, with a little research, anyone can do them. Here is a crash course in the basic preservation options:
Canning
One of the most well-known and time-tested methods of food preservation is canning. Canning is a great option for people who are choosing to live off the land, giving you the option to make your home-grown produce last all year. Being shelf-stable, canning is one of the best waste-prevention methods, allowing you to consume perishable produce all year long with no waste or spoilage.
What we love about canning is that it presents endless options for the foods you’re storing. Sure, you can store jars of tomatoes, corn, and peaches, but you can also create salsas, soups, jams, and sauces that can be used for a long time to come.
Canning is a great option for building a supply where you are planning to stay but is less mobile than other options. If it’s important to you to have mobility in your supply, you might consider another option.
Canning is not as intimidating as it may seem to start out. For a great beginner’s guide, check out Healthy Canning’s guide on how to get started in home canning. They also have great information on safety and storage – home-canned food can generally be counted on to last about one year, depending on how it’s been canned and stored. Proper canning requires sterile equipment and making sure you pay attention to technique. You’ll find all kinds of unsafe ‘hacks’ on the internet, from using a dishwasher to can, to storing canned goods in a compost heap (no thanks!).
We want to be clear that canning is completely safe, time-tested, and a great way to store produce. However, for the inexperienced practitioner, canning can be less than shelf-stable and lead to illness. Many home canners aren’t necessarily looking to store their produce for years, so watch out for hobbyists and stick to trusted sites like the one linked above.
Pickling
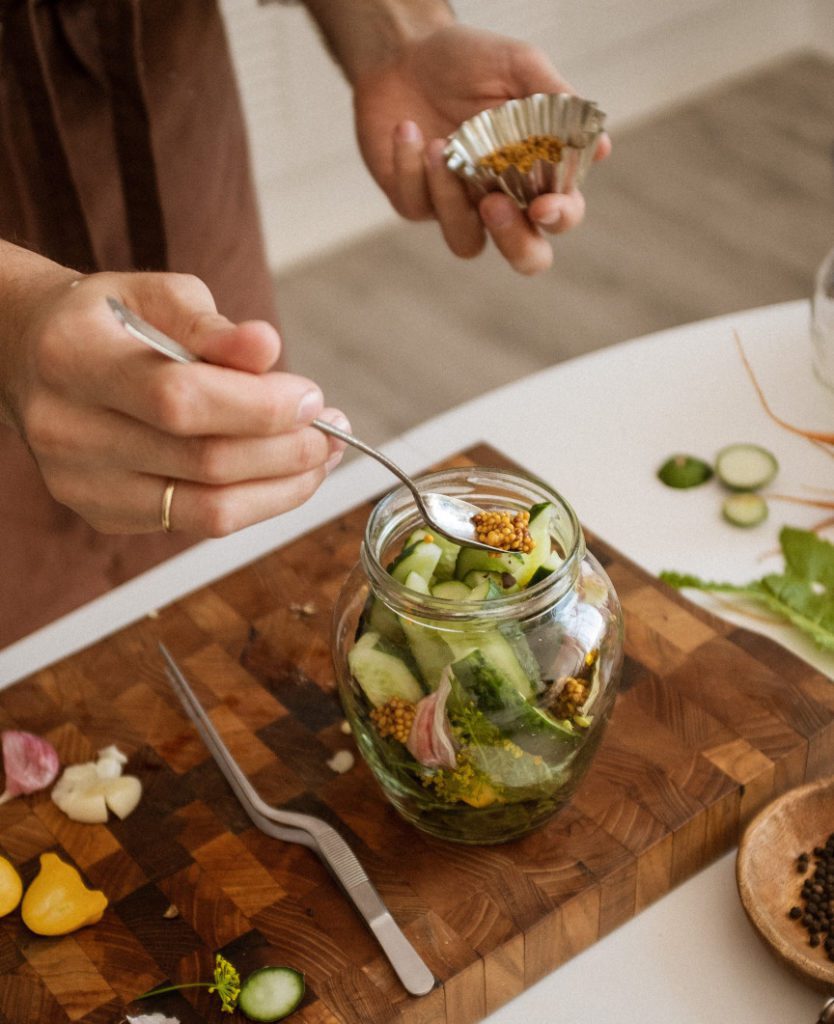
Once canned food is opened, it needs to be consumed within a few days – unless it has been pickled or fermented. Pickled foods can last up to a year in the refrigerator, and create a lot of variety in a prep supply. City Prepping has put together a great guide on pickling for beginners that includes step-by-step instructions on storing your food flavorfully and safely.

Pickling offers so many more options than just the well-known dill pickles. Many vegetables taste great pickled, including onions and garlic, sweet as well as hot peppers, cabbage, cauliflower, carrots, beets, green beans, and many more.
Mylar Bags
Mylar bags, made from food-grade aluminum and plastic, are a great way to keep food safe from light, oxygen, and moisture that can cause food to spoil. They come in a variety of sizes, from small packets for seeds up to 5-gallon sizes (a popular size for bulk dry food storage) and even larger. However, Mylar bags aren’t rodent-proof and aren’t as hardy as plastic buckets or jars, which is why it’s commonly taught to insert your Mylar bag(s) of dry goods into a sealed 5-gallon bucket.
Mylar bags are best for foods that are low in oil and moisture content, like white, jasmine, or basmati rice, flour, salt, dry beans, oatmeal, and other dry goods.
The Provident Prepper has a great guide on packaging dry foods in Mylar bags using items that can be found in most households like clothing iron or hair straighteners. While Mylar bags are made of plastic, they are reusable, allowing users to cut off the seal and use them again and again.
Dehydrate & Powder
One of the most efficient ways for preserving food for the long haul is to dehydrate it. Dehydration is a great storage technique, as removing moisture from a food prevents mold and decay. Dehydration also preserves the nutrients of food while reducing the volume and weight that it takes up. Fruits, vegetables, and meats can all be dehydrated, making them shelf-stable for many years.
Dehydration has been a food preservation technique for centuries, and there’s no reason this can’t continue. It can be done with a minimum of equipment, using your oven or even the sun. Freeze-drying or vacuum-sealing are also options but may require you to acquire additional equipment.
There’s a great guide to dehydrating and powdering foods over at CanadianPreparedness.com, complete with the equipment you’ll need as well as techniques. If mobility is important to you, dehydrated and powdered foods may be the easiest way to store your food.
Conclusion
Preserving food doesn’t have to be complicated or cumbersome. Now that you’re armed with the basics of preservation, along with a few fantastic resources, the options of foods you can keep in your inventory are limitless.
Make sure to check out our Ultimate Prep System, so you can inventory all your home packaged food preps. You’ll know exactly how much food you have, how long it will last your family in an emergency situation, how to most effectively rotate through your food preps, and so much more.


I have never canned or pickled ,but have always wanted to. just never enough time. My mom always did
Hey Edward! I just started canning a couple months ago. I had been procrastinating since I got the canner last Christmas lol… it’s pretty straight forward and lots of great videos on YouTube that demonstrate the process. For example, check out Alaska Prepper, he’s awesome.
great resource
I’m glad you like it. Thanks for checking it out!
This is a great resource. Bookmarking for later.
Awesome, great to hear Wendy!
Thanks for the great info! All the stuff I knew about canning, I learned decades ago, and I know there are easier ways.
My pleasure Piroska! There’s always something new to learn in preparedness isn’t there? :)
i need to get on top of things this is a start
Glad to hear this could have sparked you to take action! Let me know if you have topic ideas that would be helpful for me to write about.
I have always wanted to can ,but never did. the thought of having fruit whenever you want is awesome
I agree! So far, I’ve canned only meats. I would love having some canned fruit on hand! I think that will be next :)
I am already a canner and also dehydrate. I have pickled a few things too.
Sounds like you could teach all of us a thing or two :)
Thank you for the awesome info!
My pleasure! Thanks for being here!
i am not a fan of canning, but to those that do good for you.
Hey Joshua, are you a fan of any of the other preservation methods? Thanks for checking out the post, and for the comment!
Thanks for the info
My pleasure Jennylyn! Happy to hear any ideas for future posts that would help you.
oh pickling, that’s what im missing. thanks for the heads up
Hi Michael, you and me both. Thanks for checking out the post!
I would like to try canning
I started canning earlier this year, after many months of procrastination. Pretty easy and straight forward, and there’s lots of canning videos on YouTube. For example, a channel called Alaska Prepper has some great videos on it.
I have always been intimidated by the canning process. My grandmother and several aunts always canned and they were great cooks anyway. I even bought myself a canning cookbook but to date I still have not faced my fears
I’m with you Cathy! I procrastinated for over 6 months after getting a canner at the end of last year. Turns out it’s pretty straight forward. Just go one step at a time with the instructions. There’s lots of great videos on canning on YouTube channels like Alaska Prepper, Ghost Prepper, and many more. It really helps to watch someone go step by step.
Here’s a link I hope will help you: https://www.youtube.com/results?search_query=canning
Can never find the time to can
Yeah, it definitely requires making it a priority for a good part of a day. I guess it’s just a matter of how important it is to you in terms of what food you would preserve via canning.
Thanks for being here Tina, and for the comment!
I do wish I had the room in my apartment to store food like this. But alas I do have quite a stockpile of food somehow.
That’s great Joshua. I’ve found that it’s a process. Set a goal for how many days of sustenance you want prepped, and then just chip away at it.
still haven’t done yet
Hi Tina, which method do you think you’ll start with?
I remember my grandma, mother and aunts canning but I’m still intimidated by it. I’ve chosen to go with dehydrating, vacuum sealing and mylar in buckets/totes with O2 absorbers/desiccants. I only recently started to learn to use desiccant packets. I wish I’d have learned to use them a couple years ago because I now have stacks of buckets/totes with the typical rice, flour, pastas, staples etc. with only O2 absorbers and now I’m wondering if I should go back through and check everything and add desiccants. I still need to learn what size desiccants to use for different sized bags. I had to do the same when I first learned about O2 absorbers. There was soooo much I didn’t know when I started. Like how expensive food grade buckets/lids are. If anyone has references for more affordable options I’d be grateful.